In the previous foundation, rust and solana cli have been installed. First determine the rust version:

Determine the version of solana, it is recommended to use 2.2.12:

Switch via commandsh -c "$(curl -sSfL https://release.anza.xyz/v2.2.12/install)"Install VS Code
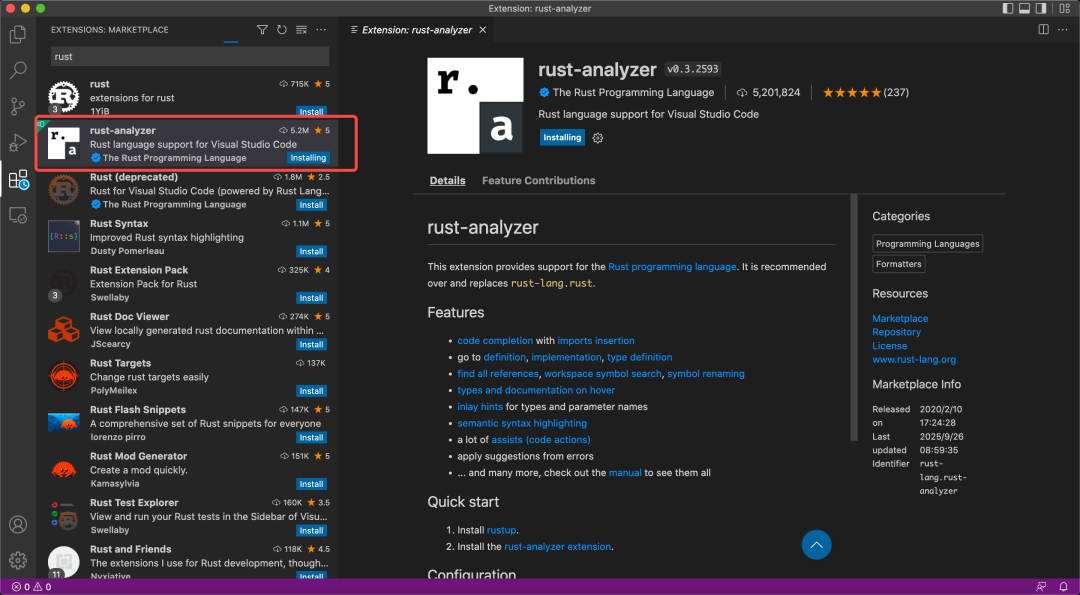
Open the VS Code page and choose to download the corresponding version according to your system. You need to install rust first, and then install the VC Code plug-in. After VS Code is installed, open VS Code and install rust-analyzer in the plugin location:
Create project
In your own working directory, use cargo to create a project:
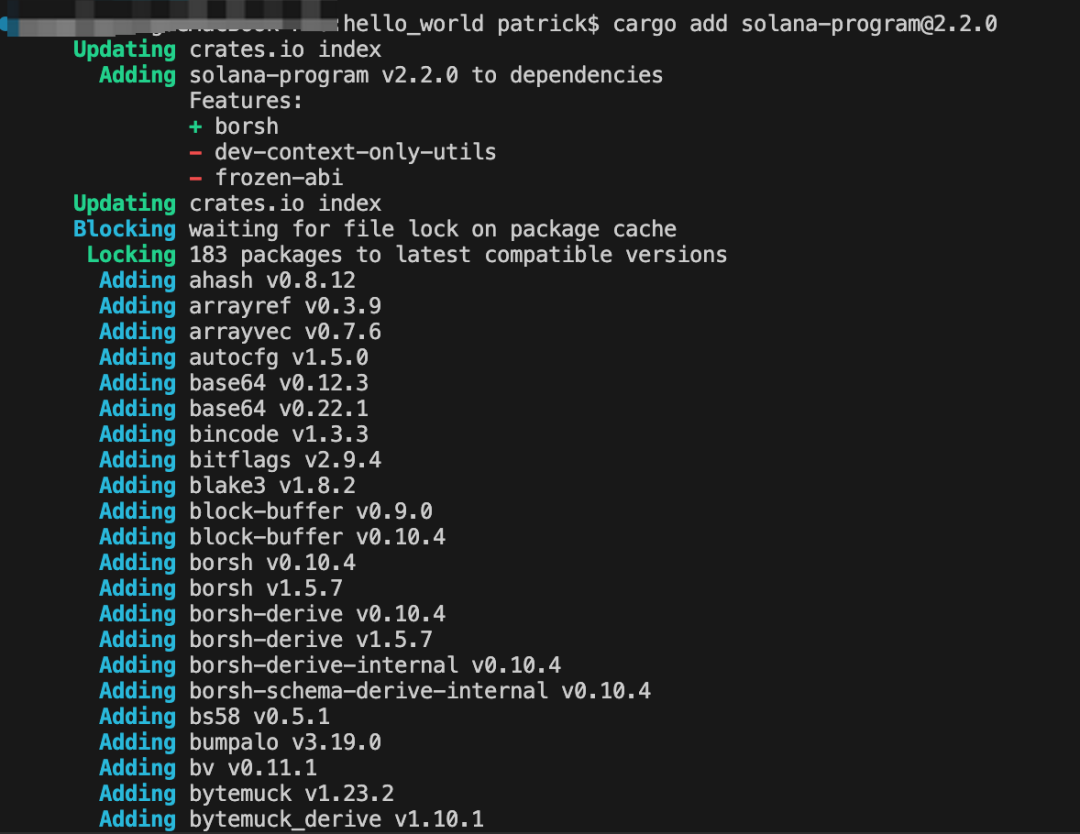
cargo new hello_world --libThen go to the hello_world directory and add the dependency of solana SDK:cargo add solana-program@2.2.0
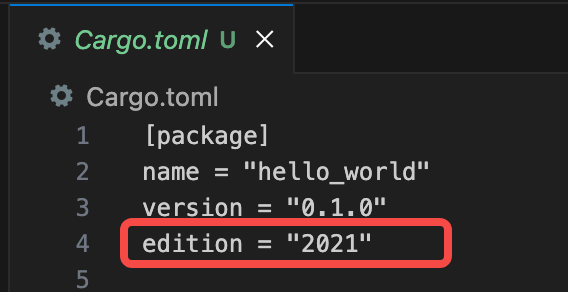
renew edition field to 2021, otherwise you may encounter errors when building your program.
And add to Cargo.toml:[lib]crate-type = ["cdylib", "lib"]
In the src/lib.rs file, fill in the following contract code:
use solana_program::{ account_info::AccountInfo, entrypoint, entrypoint::ProgramResult, msg, pubkey::Pubkey,};entrypoint!(process_instruction);pub fn process_instruction( _program_id: &Pubkey, _accounts: &[AccountInfo], _instruction_data: &[u8],) -> ProgramResult { msg!("Hello, Solana world!"); Ok(())}build
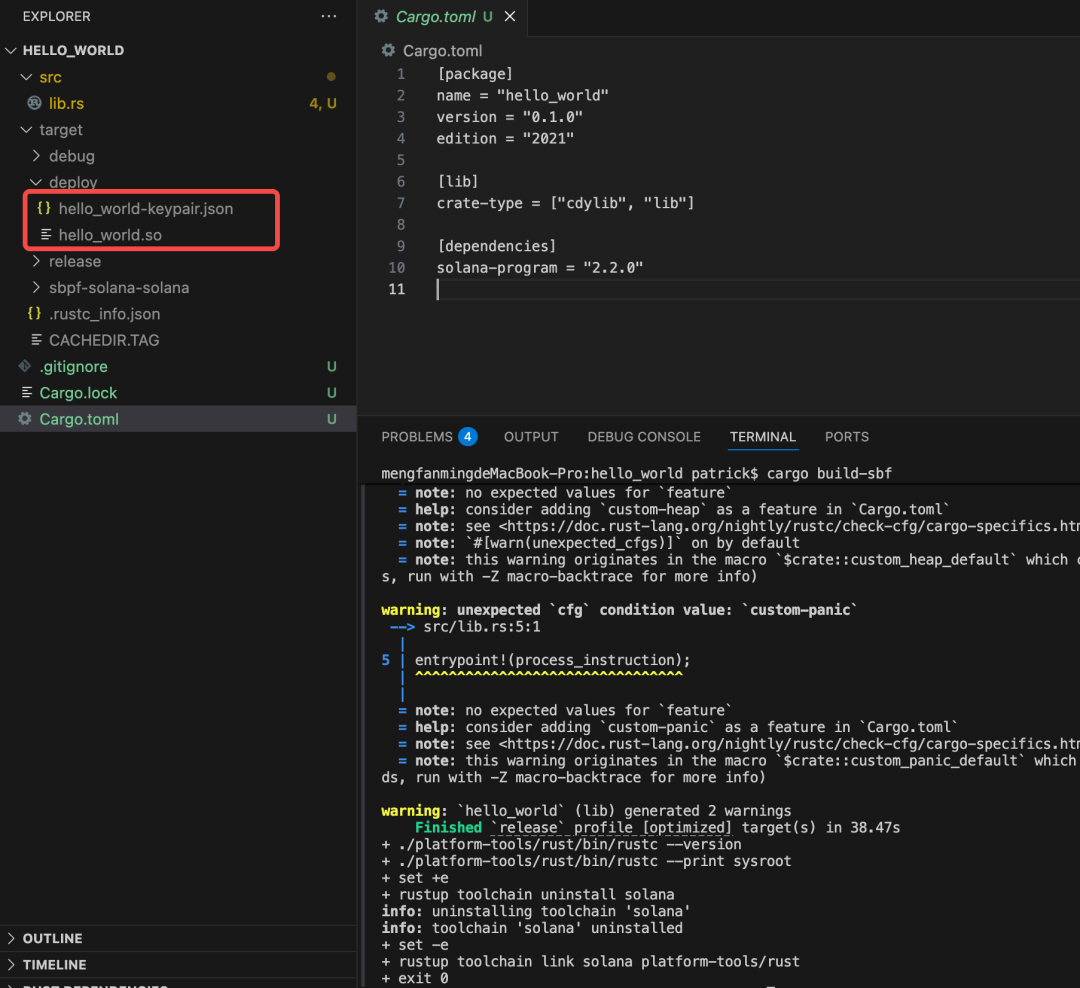
implement:cargo build-sbfSome errors may be reported here. If you encounter problems similar to mine, you can refer to the following: 1. If it is a network problem, such as the URL is not working, there is a high probability that there is a problem with the scientific way of surfing the Internet. You can try to change the app.; 2. Change edition = "2024" in the Cargo.toml file to edition = "2021".

After this command runs successfully, a target/deploy directory, which contains two important files:
- one
.so files (e.g.hello_world.so): This is the compiled Solana program that will be deployed to the network as a "smart contract". - a keypair file (for example,
hello_world-keypair.json): When deploying a program, the public key of this keypair is used as the program ID.
Deployment: Switch to local clustersolana config set -ul

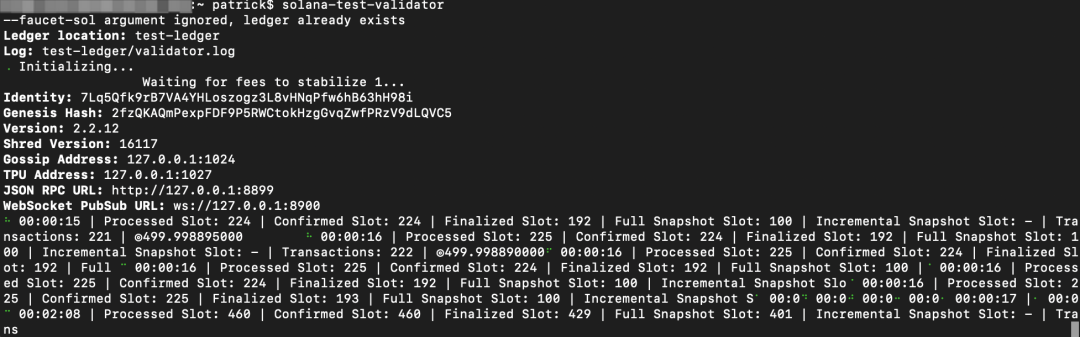
Open a new terminal and run the following command to start the local validator.solana-test-validatorDisplayed as follows
Open the VS Code terminal, run the following command, and deploy to the local validatorsolana program deploy target/deploy/helloworld.so Program Id: 73w15hRfWHVansZQ2tEUPaX9phNHEFPT4d34yRzTyu5YSignature: 3biJfGVZgqog3GDbUdmLh9s4pRz2HNzvXrxt7NgvbbL63wh71ujytBqWAmmMtWY3P2RCcX8fRNEHt8gHocyz4NnYRust client testingFirst create a examples directory and a client.rs document.mkdir -p examples && touch examples/client.rsAdd to solana-client and tokio Dependencies.cargo add solana-sdk@2.2.0 --devcargo add solana-client@2.2.0 --devcargo add tokio --devThe code below is a Rust client script that funds a new keypair to pay for the transaction and then calls the Hello World program.use solana_client::rpc_client::RpcClient;use solana_sdk::{ commitment_config::CommitmentConfig, instruction::Instruction, pubkey::Pubkey, signature::{Keypair, Signer}, transaction::Transaction,};use std::str::FromStr;#[tokio::main]async fn main() { // Program ID (replace with your actual program ID) let program_id = Pubkey::from_str("73w15hRfWHVansZQ2tEUPaX9phNHEFPT4d34yRzTyu5Y").unwrap(); // Connect to the Solana devnet let rpc_url = String::from("http://localhost:8899"); let client = RpcClient::new_with_commitment(rpc_url, CommitmentConfig::confirmed()); // Generate a new keypair for the payer let payer = Keypair::new(); // Request airdrop let airdrop_amount = 1_000_000_000; // 1 SOL let signature = client .request_airdrop(&payer.pubkey(), airdrop_amount) .expect("Failed to request airdrop"); // Wait for airdrop confirmation loop { let confirmed = client.confirm_transaction(&signature).unwrap(); if confirmed { break; } } // Create the instruction let instruction = Instruction::new_with_borsh( program_id, &(), // Empty instruction data vec![], // No accounts needed ); // Add the instruction to new transaction let mut transaction = Transaction::new_with_payer(&[instruction], Some(&payer.pubkey())); transaction.sign(&[&payer], client.get_latest_blockhash().unwrap()); // Send and confirm the transaction match client.send_and_confirm_transaction(&transaction) { Ok(signature) => println!("Transaction Signature: {}", signature), Err(err) => eprintln!("Error sending transaction: {}", err), }}Add and replace Program ID in client.rs: Program Id will be displayed when released before. If you forget it, you can get it through the following command:solana address -k ./target/deploy/hello_world-keypair.json

At this time, the Cargo.toml file is configured as follows:

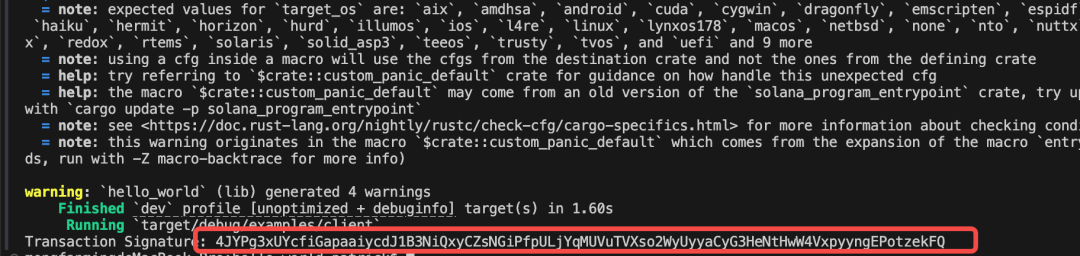
run client runcargo run --example clientshow
test
Open Solana Explorer (local cluster)
https://explorer.solana.com/?cluster=custom
Paste the Transaction Signature just now into the search box and press Enter:
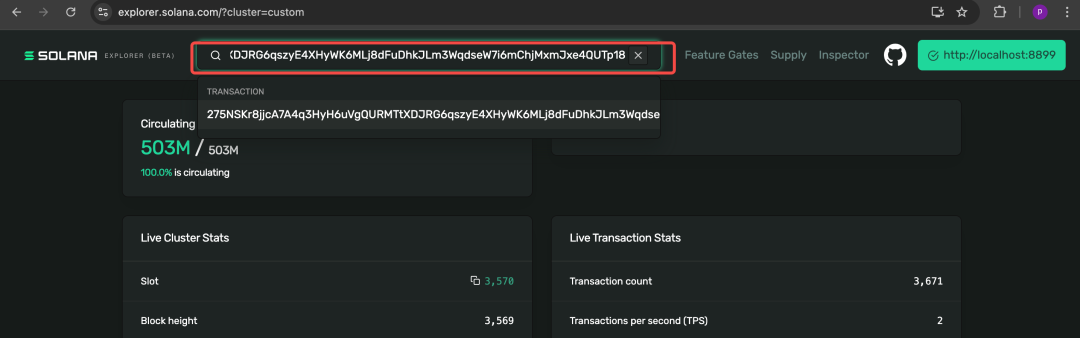
You can see that the same effect can be obtained with the previous Playgroud.

|

 English


